Note: See Authentication for the V2 API and V2 API Oauth2 Examples if you want to Auth without Postman.
We've made a Postman collection that demonstrates many of the actions you can perform in the RyderShip v2 API. Using this guide, you'll be able to quickly navigate the RyderShip OAuth scheme for authorization and see the results of real calls.
- Requesting Access
- Installation
- Importing RyderShip V2 Collection
- Setting Environment Variables
- Oauth Request for Authorization
- Oauth Request for Tokens
- Test the Endpoints
Request Access
The V2 API is available by request only. The RyderShip V2 API Access Request Form is available here. Once filled out, our Tech team will be notified and provided with this information. Once ready, you will receive a reply with the credentials.
Install Postman
Postman is available as a free download. If you don't have it already, download Postman.
Importing the RyderShip V2 Collection
The RyderShip V2 Collection is available here.
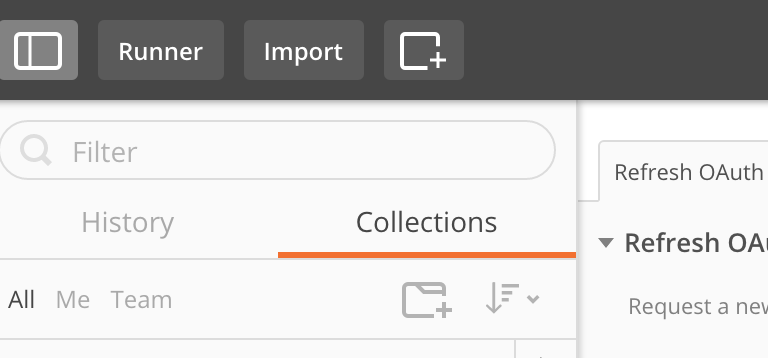
Import the Collection into Postman
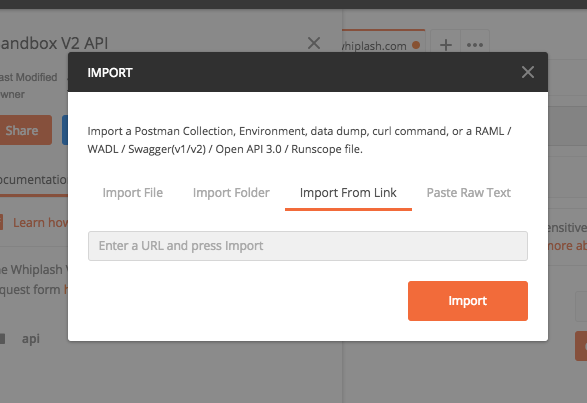
"Import From Link" Page
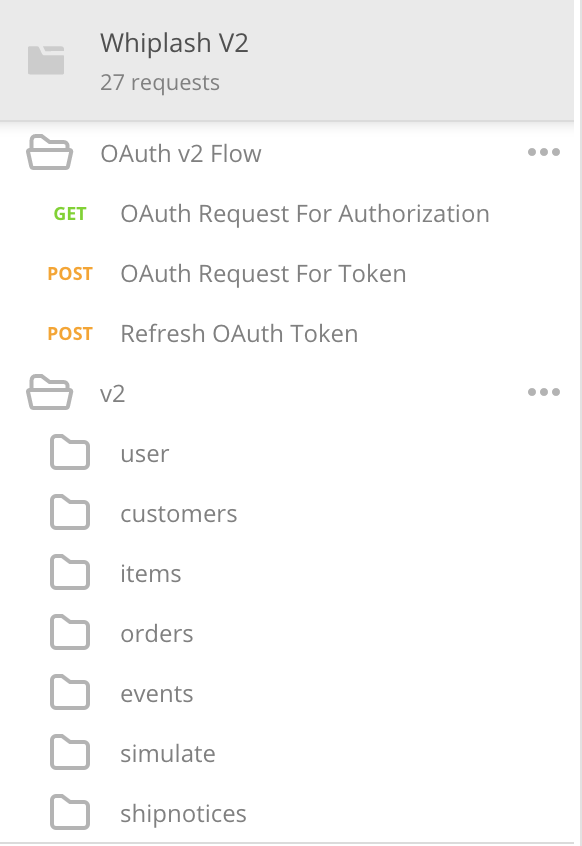
RyderShip V2 Collection after Import
Setting Environment Variables
A. You can use the existing environmental variables for the sandbox environment or set up your own environment in Step B below:
B. You'll need to set a few variables in Postman that are specific to your application. Create a new environment, e.g. RyderShip Development or RyderShip Production, and set the following variables:
-
OAUTH_REDIRECT_URI- This is where you'll receive an authorization token and should be the same address you gave us in Step 1.
-
CLIENT_ID- You'll have received this from us in Step 1.
There are additional variables that can optionally be used if your application has multiple customers per-user or multiple webstores:
-
CUSTOMER_ID
-
SHOP_ID
Environmental variables are accessed in the upper right side of Postman:
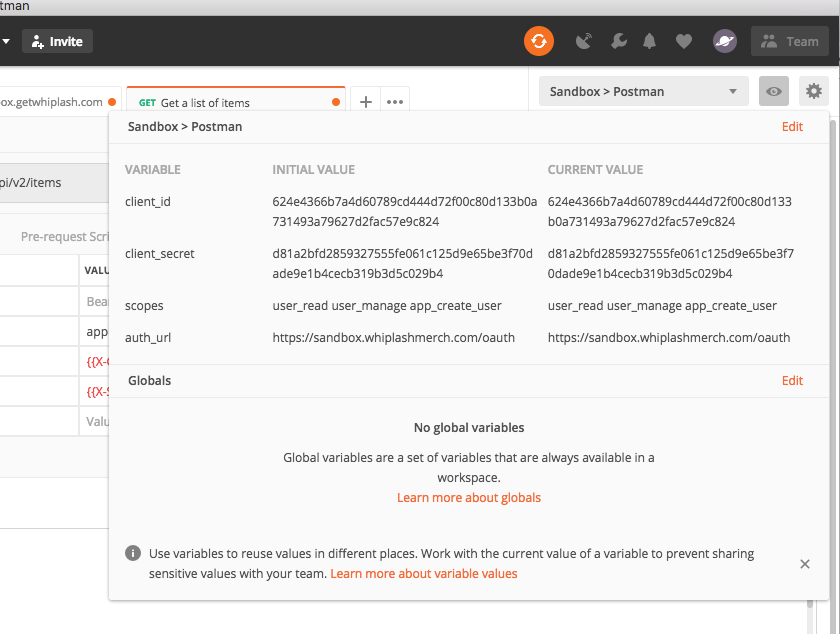
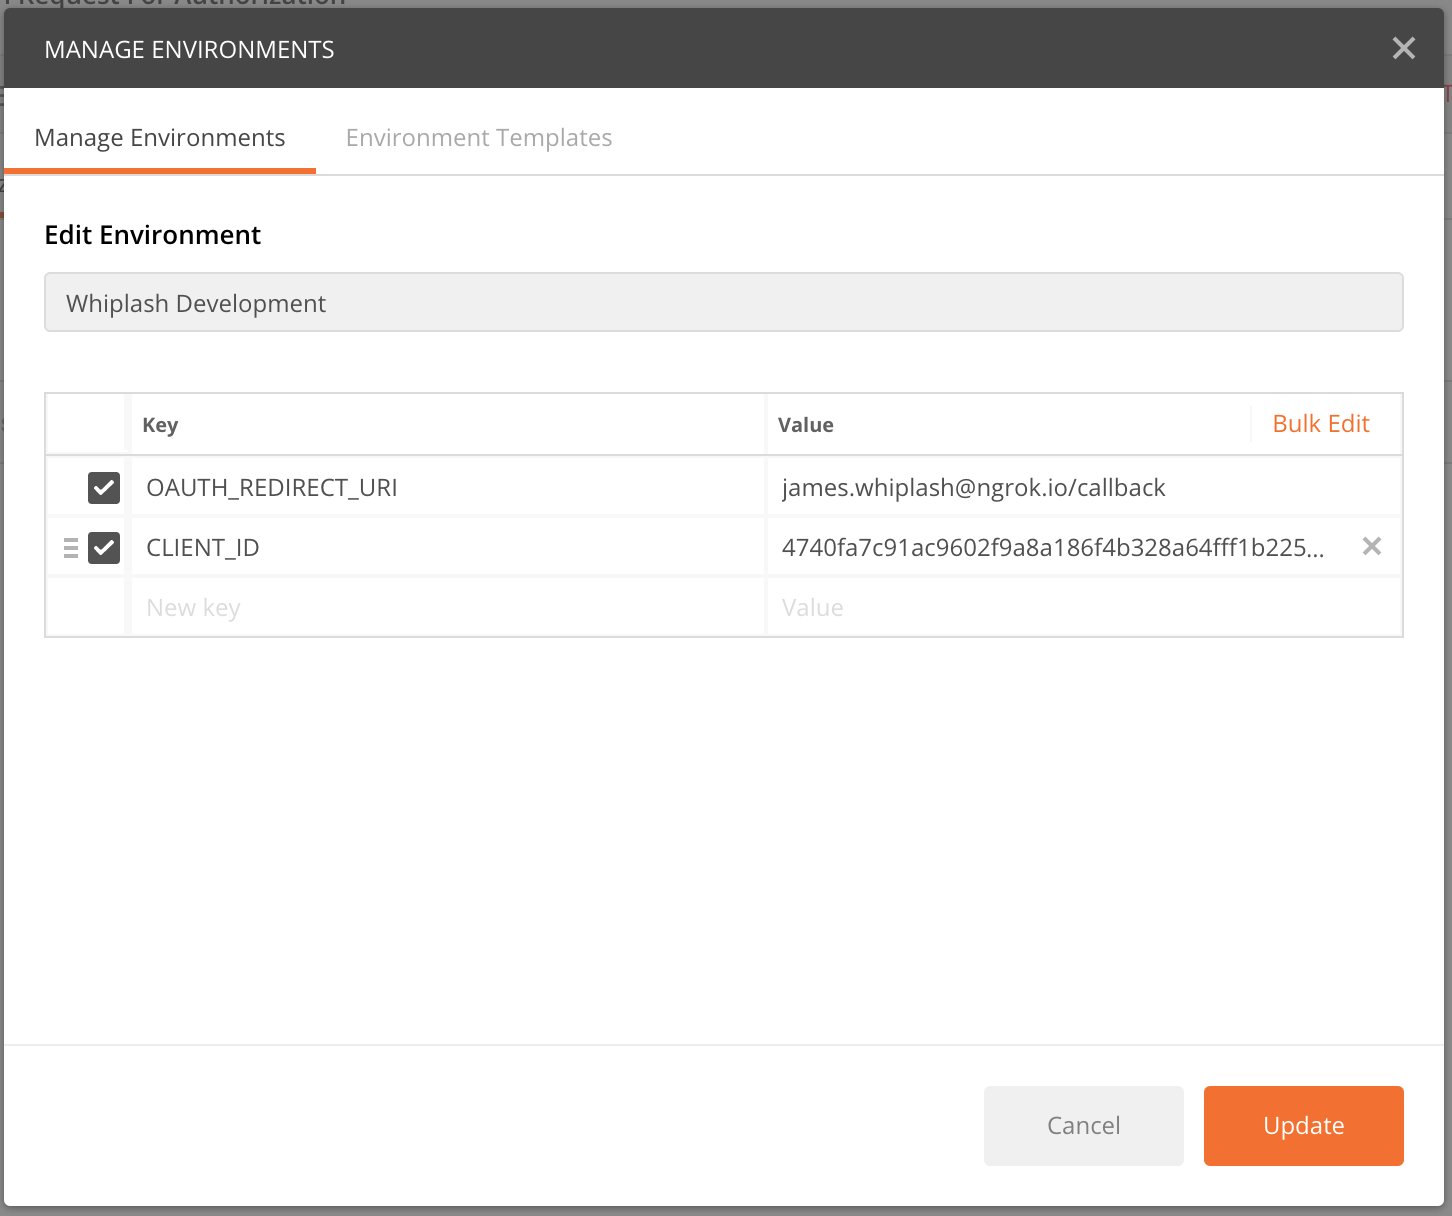
Setting the environment variables
OAuth Request for Authorization
Your first request via Postman will require web authentication. Click the "Authorization" tab, then click the link on the right:
You should see: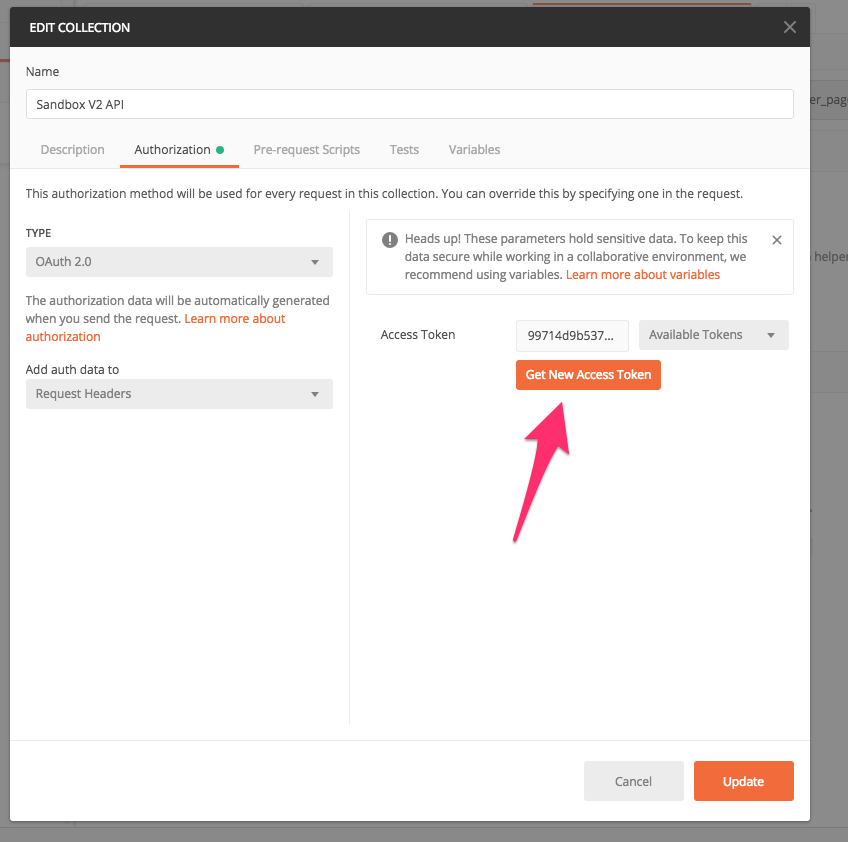
OAuth Request for Tokens
Select "Get New Access Token":
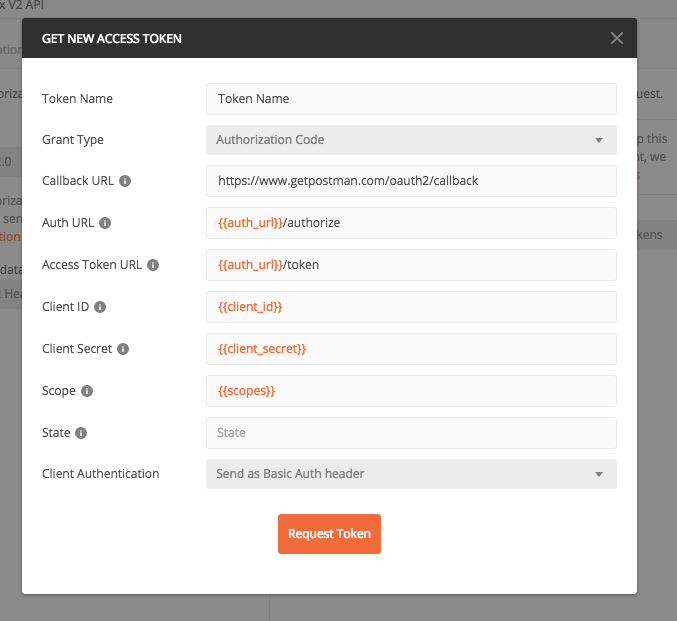
Here we will be using the variables we set up under "Setting Environment Variables" above. You will get a browser window pop-up. Login to the RyderShip Sandbox using your Sandbox credentials.
After you login, you will see the "Manage Access Tokens" screen. 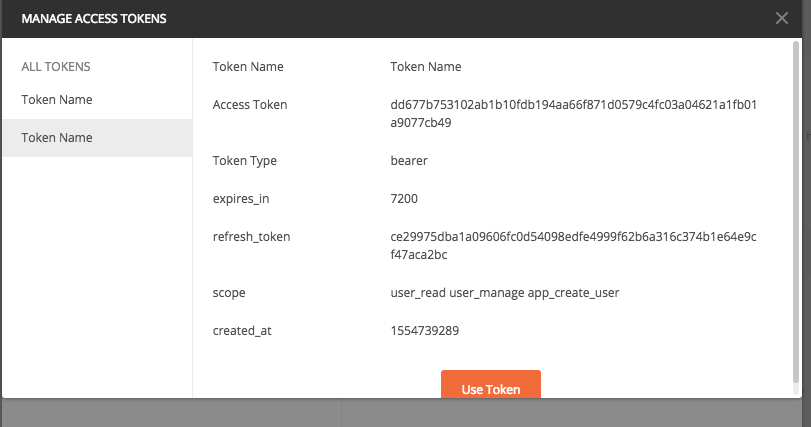
Make sure you select "Use Token" and "Update" on this page.
The token flow can be found under the top-level collection > "Edit":
Note: Your Access Token expires every two hours. Use the Refresh OAuth Token endpoint to get a new token, which Postman will automatically use in your requests.
Test the Endpoints
You'll now be able to perform most actions in the API. "Get Items" is a good starting point, as well as "Get Orders", "Create Item", and "Create Order".
Happy coding!
Related Questions:
How do I import the RyderShip V2 collection in Postman?